7 Essential Tips for Freezing and Reheating Meal Preps Without Losing Flavor
7 Essential Tips for Freezing and Reheating Meal Preps Without Losing Flavor
Freezing and reheating meal preps can often lead to dull flavors and disappointing textures, but it doesn't have to be that way. With a few simple tricks, you can keep your meals tasty and satisfying, even after they've been frozen and reheated. Let’s break down the best methods for preserving those delicious home-cooked flavors so your meal preps are always a delight to enjoy.
Preparing Meals for Freezing
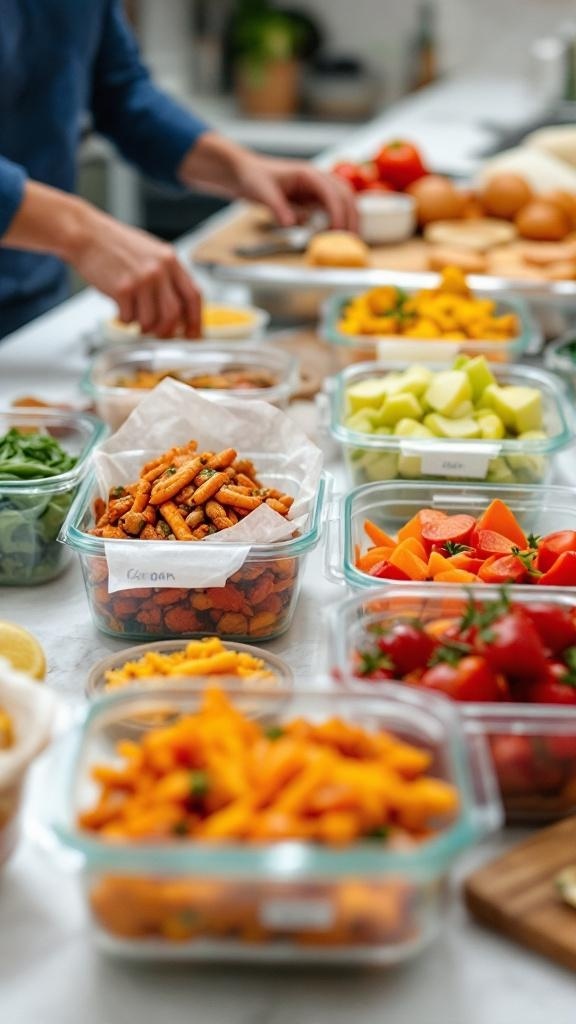
When it comes to meal prepping, the image shows a colorful array of ingredients neatly organized in glass containers. This setup is perfect for freezing meals without losing flavor. You can see vibrant vegetables, grains, and proteins all ready to be transformed into delicious dishes.
Start by choosing fresh ingredients. Look for seasonal produce and lean proteins. Wash and chop everything into bite-sized pieces. This makes it easier to mix and match later. The more colorful your ingredients, the more appealing your meals will be when you reheat them.
Once your ingredients are prepped, consider cooking them lightly. Steaming or sautéing can enhance flavors without making them soggy. After cooking, let everything cool down before packing them into containers. This helps prevent ice crystals from forming, which can affect texture.
Label each container with the contents and date. This way, you’ll know what you have on hand and when it needs to be used. Storing meals in portion sizes makes reheating a breeze. You can grab just what you need without defrosting everything.
Best Practices for Freezing Different Foods
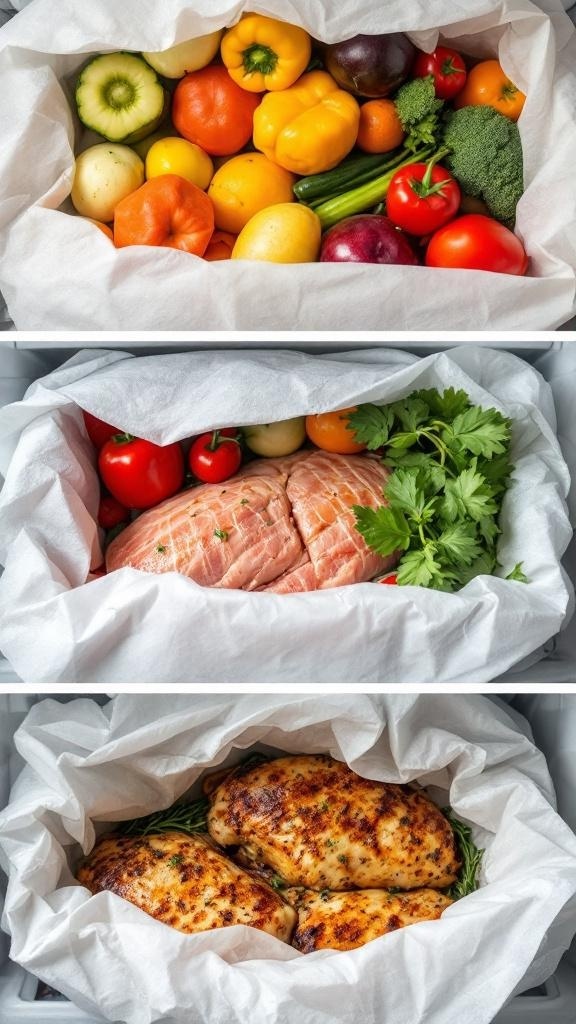
Freezing meals can be a great way to save time and keep your food fresh. The image above shows a variety of foods ready for freezing, including colorful vegetables, meats, and cooked chicken. Each type of food has its own freezing and reheating needs.
When freezing vegetables, it’s best to blanch them first. This quick cooking process helps preserve their color and texture. After blanching, cool them down quickly in ice water before packing them into airtight containers.
For meats, like the ones shown in the second section of the image, wrapping them tightly in freezer paper or plastic wrap is key. This prevents freezer burn and keeps the meat juicy when you reheat it.
Cooked meals, like the chicken in the last section, should be cooled completely before freezing. Portion them into meal-sized containers. This makes it easy to grab just what you need later.
Label everything with the date and contents. This way, you can keep track of what you have and use older items first. Following these simple steps will help you enjoy your meal preps without losing any flavor!
GET 21 QUICK & EASY LOW-CALORIE MEAL PLANS
Reheating Methods for Optimal Taste
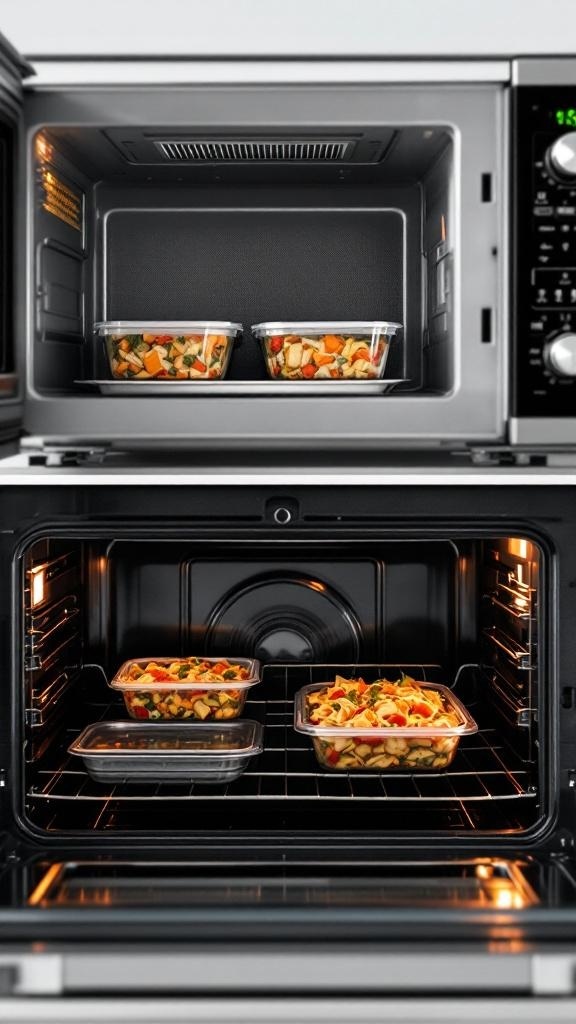
When it comes to reheating your meal preps, the method you choose can make a big difference in taste and texture. The image shows two different reheating options: a microwave and an oven. Each has its perks, and knowing when to use each can keep your meals delicious.
The microwave is quick and convenient. Just pop your meal in, set the timer, and you’re good to go. However, it can sometimes leave food a bit soggy. To combat this, cover your dish with a microwave-safe lid or wrap to trap steam, which helps keep things moist.
On the other hand, using an oven takes a little longer but can really enhance the flavor. The heat circulates evenly, giving your food a nice crispness. Preheat your oven and place your meal in a covered dish to retain moisture. This method works wonders for casseroles and roasted veggies.
In the end, the choice between microwave and oven depends on your time and the type of meal. Experiment with both to see what works best for your taste buds!
Choosing the Right Containers for Freezing
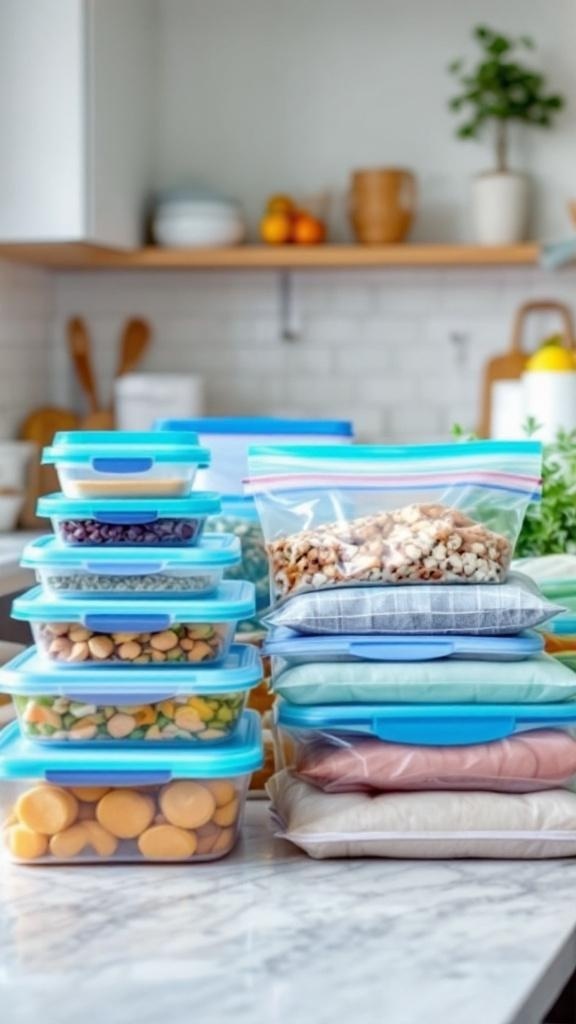
When it comes to freezing meal preps, the right containers make a big difference. The image shows a variety of containers stacked neatly, ready for action. You can see clear plastic containers with colorful lids, along with some resealable bags. This setup is perfect for keeping your meals organized and fresh.
First off, opt for containers that are freezer-safe. Look for ones labeled as such, as they can withstand low temperatures without cracking. The image highlights some sturdy options that will keep your food secure. Airtight seals are a must to prevent freezer burn, which can ruin the taste of your meals.
Next, consider the size of your containers. Smaller portions are great for snacks or single meals, while larger ones work well for family-sized servings. The mix of sizes in the image gives you a good idea of how to plan your meals. You can easily grab a container that fits your needs.
Don’t forget about labeling! It’s easy to lose track of what’s in each container. Use labels or write directly on the bags to note the contents and date. This way, you’ll always know what you have on hand. The neat arrangement in the image makes it easy to see what’s available at a glance.
Lastly, think about stackability. Containers that stack well save space in your freezer. The image shows a well-organized setup, making it easy to maximize storage. With the right containers, your meal prep can be both efficient and enjoyable.
GET 8-WEEKS OF WORKOUTS TO LOSE INCHES
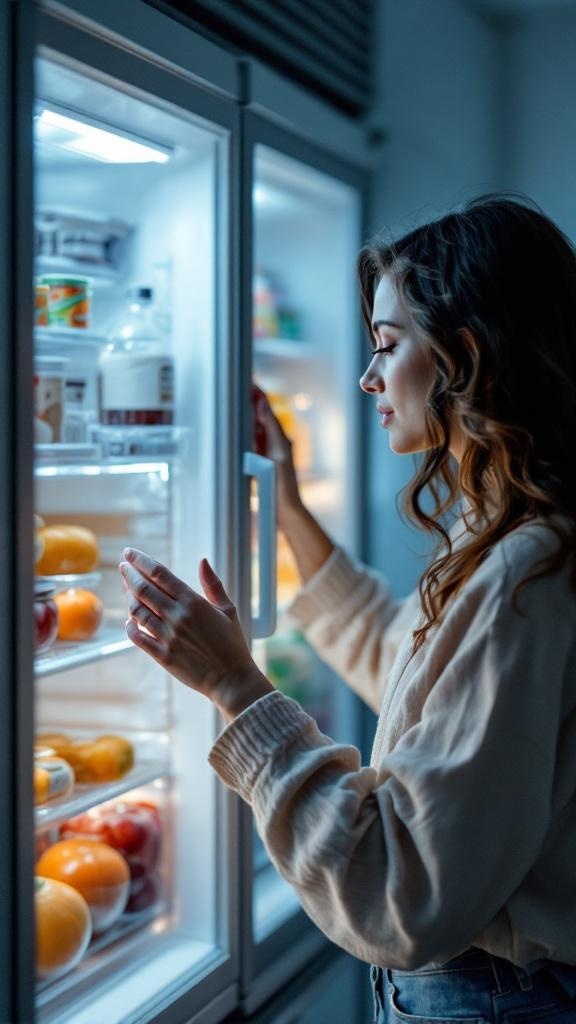
Thawing Techniques to Retain Flavor
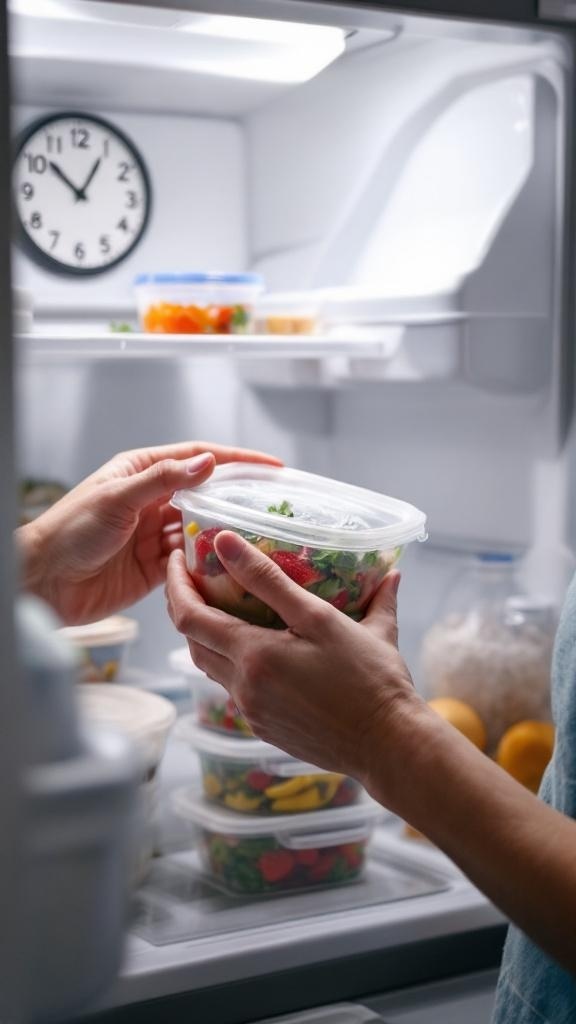
When it comes to meal prep, how you thaw your food can make a big difference in taste. The image shows someone reaching for a container of colorful salad in a fridge, highlighting the importance of proper storage and thawing methods.
One effective technique is to transfer your meal from the freezer to the fridge a day before you plan to eat it. This slow thawing process helps maintain texture and flavor. It’s like giving your meal a gentle wake-up call!
If you're in a hurry, you can use the microwave. Just set it to the defrost setting and keep an eye on it to avoid cooking the edges. This method is quick but can sometimes lead to uneven heating.
Another option is to place the sealed container in cold water. This method is faster than fridge thawing and helps keep the meal at a safe temperature. Just make sure the container is watertight!
Lastly, if you’re cooking a dish from frozen, you can often add it directly to the pot or pan. Just adjust the cooking time accordingly. This method can infuse flavors as the meal cooks.
Enhancing Flavors After Reheating
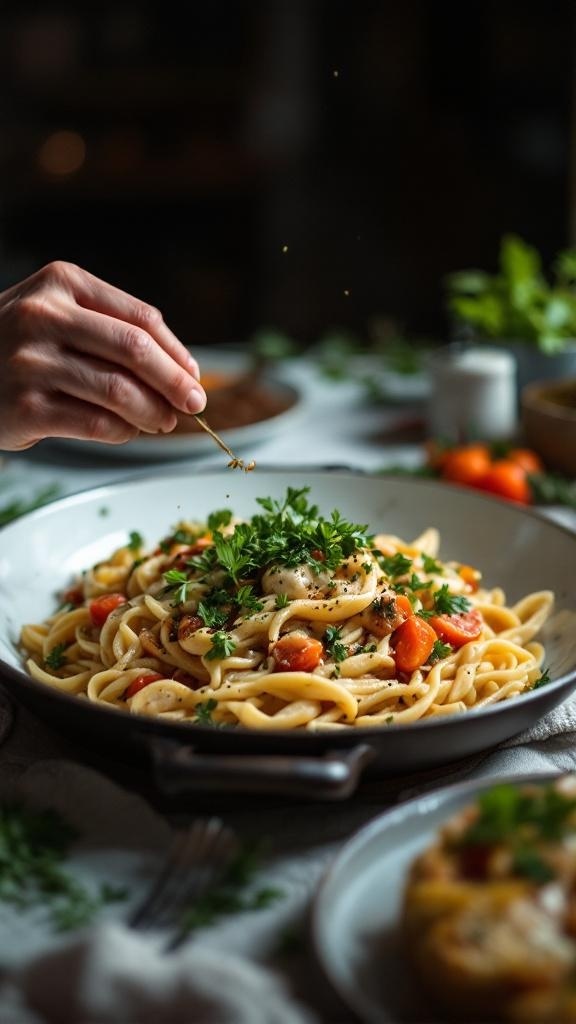
Reheating meal preps can sometimes lead to a loss of flavor, but there are simple ways to bring that taste back. The image shows a delicious plate of pasta, garnished with fresh herbs. This visual reminds us that a little touch can make a big difference.
When you reheat your meals, consider adding fresh herbs or spices. A sprinkle of parsley or basil can brighten up the dish, just like in the image. You can also drizzle a bit of olive oil or a squeeze of lemon juice to enhance the flavors.
Another tip is to add a splash of broth or water while reheating. This keeps the meal moist and helps to revive the original taste. If your pasta looks a bit dry, a little broth can work wonders.
Don’t forget about cheese! A sprinkle of grated Parmesan or a dollop of ricotta can elevate your meal. Just like the pasta in the picture, a little cheese can add richness and depth.
Lastly, taste your food before serving. Adjust the seasoning with salt and pepper as needed. This final touch can make all the difference in bringing your meal back to life.
Avoiding Common Freezing and Reheating Mistakes
Freezing and reheating meals can be tricky, but avoiding common mistakes makes all the difference. The image shows a list of common pitfalls to steer clear of when meal prepping. It’s a handy reminder that can help keep your meals tasty and enjoyable.
First off, always heat your food thoroughly. If you don’t, you might end up with cold spots that can ruin the flavor. Make sure everything is heated evenly. Also, freezing meals in the right containers is key. Use airtight containers to prevent freezer burn, which can affect taste and texture.
Another mistake is not labeling your meals. It’s easy to forget what’s in the freezer. Labeling helps you know what to expect when you pull something out. Plus, it keeps your meal prep organized.
Lastly, don’t reheat your meals too many times. Each time you do, the quality can decline. Try to only reheat what you plan to eat. Following these tips can help you enjoy your meal preps without losing their deliciousness.
Struggling to Stay on Track with Your Eating?
You’re not alone. One of the biggest obstacles I see people
face is not knowing what to eat. Between busy schedules, endless diet
advice online, and trying to cook healthy meals that actually taste good—it’s
easy to feel stuck or overwhelmed.
That’s why I created my 21 Quick & Easy Custom
Low-Calorie Meal Plans Program. These plans are built specifically for
you—your goals, your lifestyle, and your food preferences. You won’t find
any cookie-cutter diets here. Just real, satisfying meals that help you stay
full, energized, and on track without the stress.
✅ No more guessing.
✅
No more skipping meals or eating “diet food” you hate.
✅
Just a clear, doable plan that fits your life.
👉 Ready to eat better,
feel better, and finally make progress? [Click here to get your custom meal plans today.]
Not Seeing the Inches Drop No Matter What You Do?
If you’re working out but still not seeing the results in
the mirror, I hear you. So many people come to me after months of doing cardio
or random workouts—and still struggling to lose inches or tone up. The truth
is, your body needs more than just movement. It needs a proven strategy.
My 8-Week Workout Program to Lose Inches is designed
to do just that—burn fat, tighten up, and give you visible results.
These workouts are fun, effective, and designed for real people with real
lives. Whether you’re getting back into fitness or ready to take it to the next
level, this program gives you a clear path to success.
✅ Just 8 weeks to build strength,
confidence, and a fitter shape.
✅
No endless cardio.
✅
No gym required (unless you want it).
👉 If you're ready to
drop inches and feel amazing in your own skin, [click here to start the 8-Week Workout Program].


Comments
Post a Comment