12 Last-Minute Fruit Dessert Ideas to Save Your Day
12 Last-Minute Fruit Dessert Ideas to Save Your Day
Need a quick dessert that wows without the fuss? These last-minute fruit desserts are here to save the day, combining fresh flavors with easy prep for those times when sweetness is a must. From simple fruit salads to no-bake tarts, you’ll find the perfect treat to impress without breaking a sweat.
Whip Up An Easy Blueberry Crisp In Minutes
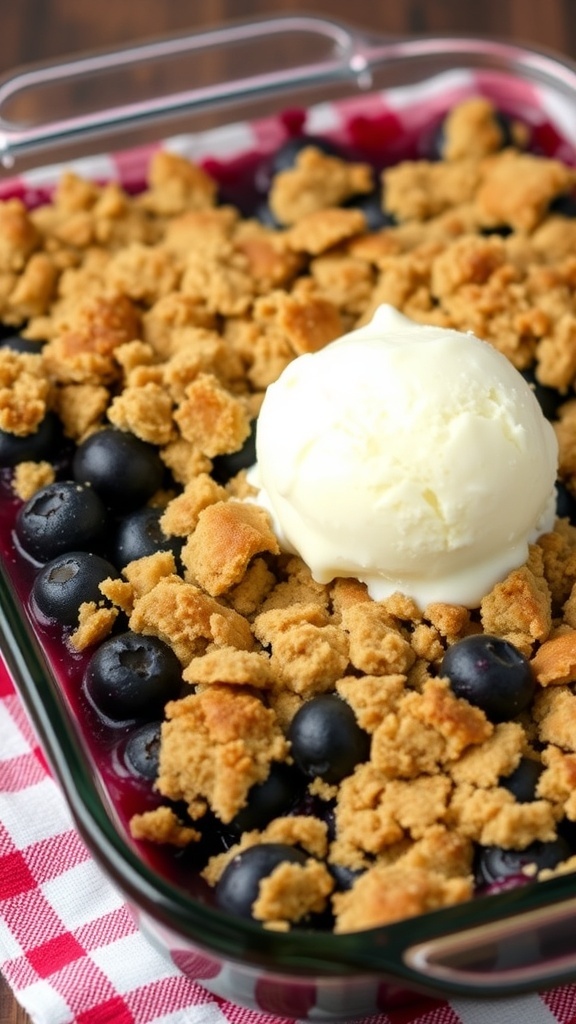
Blueberry crisp is a delightful dessert that comes together quickly, making it perfect for those last-minute cravings. The image shows a warm, bubbling dish filled with juicy blueberries, topped with a golden, crumbly topping. A scoop of vanilla ice cream sits on top, ready to melt into the warm fruit below. This dessert is not only easy to make but also a crowd-pleaser.
To whip up this easy blueberry crisp, you’ll need just a few simple ingredients. Fresh or frozen blueberries work well, and the topping is made from pantry staples. With minimal prep time, you can have this dessert ready to serve in no time.
Ingredients
- 4 cups fresh or frozen blueberries
- 1/2 cup granulated sugar
- 1 tablespoon lemon juice
- 1 cup rolled oats
- 1 cup all-purpose flour
- 1/2 cup brown sugar, packed
- 1/2 cup unsalted butter, melted
- 1 teaspoon ground cinnamon
Instructions
- Preheat your oven to 350°F (175°C).
- In a mixing bowl, combine the blueberries, granulated sugar, and lemon juice. Spread this mixture evenly in a greased baking dish.
- In another bowl, mix the oats, flour, brown sugar, melted butter, and cinnamon until crumbly.
- Sprinkle the oat mixture over the blueberries, covering them evenly.
- Bake for 30-35 minutes, or until the topping is golden brown and the blueberries are bubbly.
- Let it cool slightly before serving. Top with a scoop of vanilla ice cream for an extra treat!
Indulge In A Decadent Chocolate Banana Bread Pudding
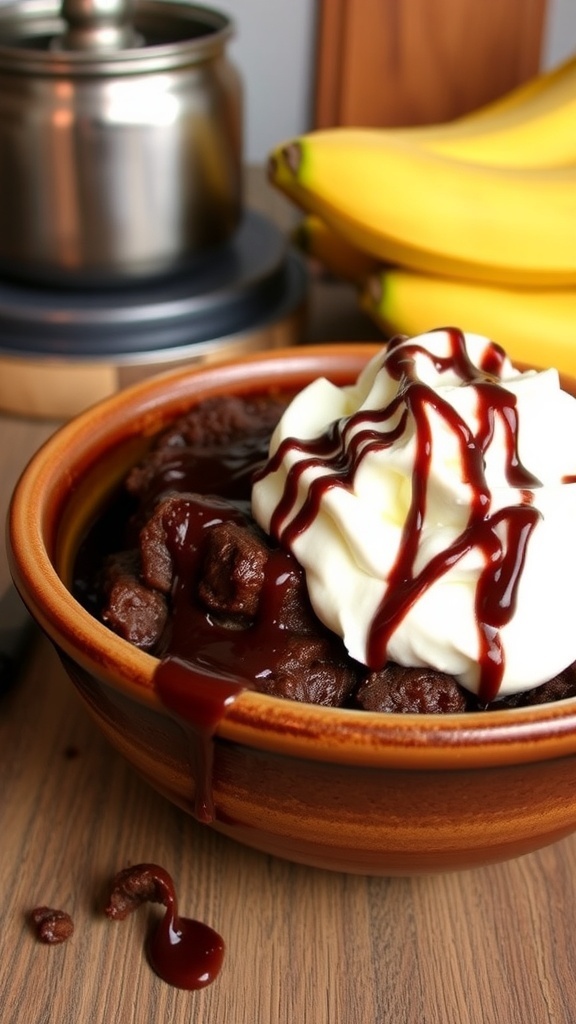
Chocolate banana bread pudding is a delightful treat that combines rich chocolate flavors with the sweetness of ripe bananas. This dish is perfect for those last-minute dessert cravings. The image shows a warm bowl of chocolate banana bread pudding topped with whipped cream and drizzled with chocolate sauce. The bananas in the background hint at the key ingredient that makes this dessert so special.
To make this delicious dessert, you’ll need a few simple ingredients. The combination of chocolate and banana creates a comforting dessert that everyone will love. It’s easy to whip up and can be served warm or chilled, making it versatile for any occasion.
Ingredients
- 4 ripe bananas, mashed
- 2 cups chocolate bread, cubed
- 2 cups milk
- 1/2 cup granulated sugar
- 1/4 cup unsweetened cocoa powder
- 3 large eggs
- 1 teaspoon vanilla extract
- 1/4 teaspoon salt
- Whipped cream for topping
- Chocolate sauce for drizzling
Instructions
- Preheat your oven to 350°F (175°C).
- In a large bowl, combine the mashed bananas, milk, sugar, cocoa powder, eggs, vanilla extract, and salt. Mix until well combined.
- Add the cubed chocolate bread to the mixture and gently fold until the bread is soaked.
- Pour the mixture into a greased baking dish and spread it evenly.
- Bake for 30-35 minutes, or until the top is set and slightly golden.
- Let it cool for a few minutes before serving. Top with whipped cream and a drizzle of chocolate sauce.
Savor The Simplicity Of A Strawberry Shortcake
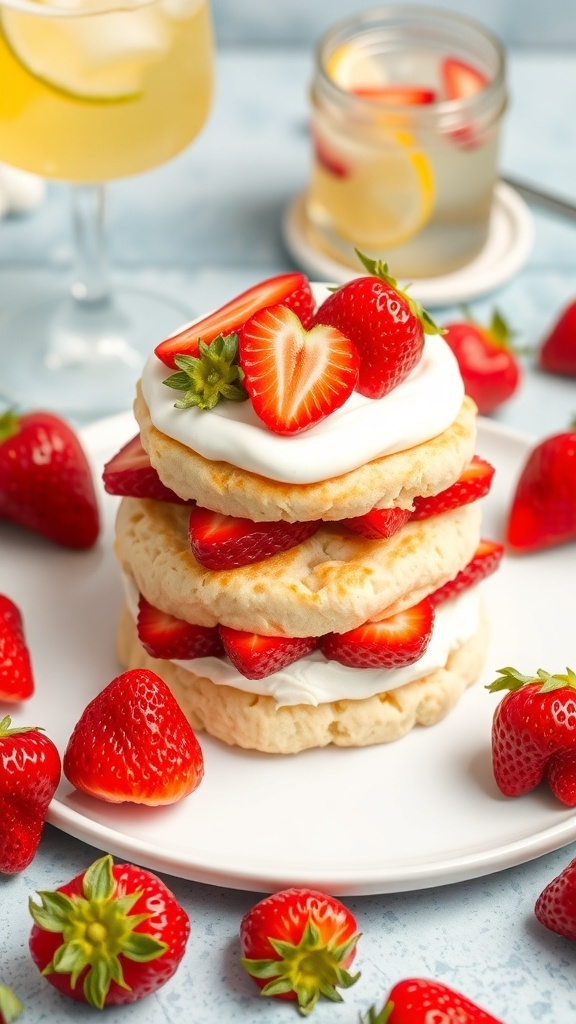
Strawberry shortcake is a classic dessert that never fails to impress. It’s simple yet delightful, making it perfect for any occasion. The image shows a beautiful stack of fluffy shortcakes layered with fresh strawberries and whipped cream. The vibrant red strawberries pop against the soft, golden cakes, creating a treat that’s as pleasing to the eye as it is to the palate.
This dessert is all about fresh ingredients. Juicy strawberries, light whipped cream, and tender shortcakes come together to create a refreshing and satisfying dish. It’s a great way to celebrate summer flavors, and it can be whipped up in no time, making it ideal for last-minute gatherings.
To make your own strawberry shortcake, gather your ingredients and follow these simple steps. You’ll be enjoying this delightful dessert in no time!
Ingredients
- 2 cups fresh strawberries, sliced
- 1/4 cup granulated sugar
- 2 cups all-purpose flour
- 1/4 cup granulated sugar (for the shortcakes)
- 1 tablespoon baking powder
- 1/2 teaspoon salt
- 1/4 cup unsalted butter, cold and cubed
- 3/4 cup heavy cream
- 1 teaspoon vanilla extract
- 1 cup heavy cream (for whipping)
- 2 tablespoons powdered sugar (for whipped cream)
Instructions
- Prepare the Strawberries: In a bowl, mix sliced strawberries with 1/4 cup sugar. Let them sit for about 30 minutes to release their juices.
- Make the Shortcakes: Preheat the oven to 425°F (220°C). In a bowl, combine flour, 1/4 cup sugar, baking powder, and salt. Cut in the cold butter until the mixture resembles coarse crumbs.
- Add Cream: Stir in 3/4 cup heavy cream and vanilla extract until just combined. Do not overmix.
- Shape the Cakes: Turn the dough onto a floured surface and gently knead it a few times. Pat it into a 1-inch thick rectangle. Cut into rounds using a biscuit cutter.
- Bake: Place the rounds on a baking sheet and bake for 12-15 minutes until golden brown. Let them cool slightly.
- Whip the Cream: In a bowl, beat 1 cup heavy cream with powdered sugar until soft peaks form.
- Assemble: Slice the shortcakes in half. Layer strawberries and whipped cream between the halves and on top. Serve immediately and enjoy!
Delight In A No-Bake Chocolate Mousse With Berries
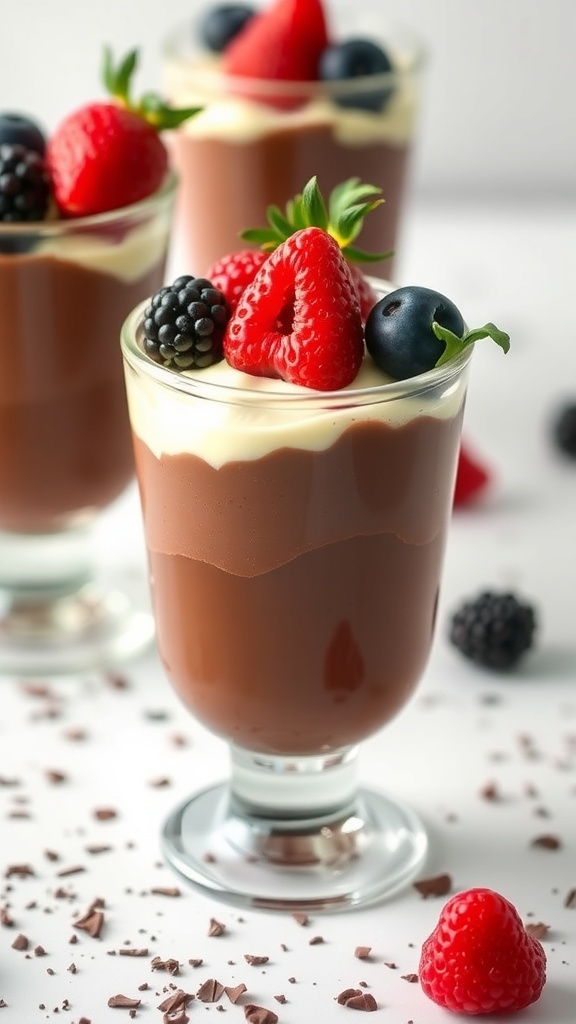
No-bake desserts are a lifesaver, especially when time is tight. This no-bake chocolate mousse is rich and creamy, making it a perfect treat for any occasion. Topped with fresh berries, it adds a burst of color and flavor that everyone will love.
The mousse is made with simple ingredients, yet it feels indulgent. The combination of chocolate and berries is a classic that never disappoints. The freshness of the berries balances the richness of the mousse, creating a delightful experience.
To make this dessert, you’ll need some chocolate, heavy cream, and a few other pantry staples. The best part? It comes together in no time and requires no baking!
Ingredients
- 8 oz dark chocolate, chopped
- 2 cups heavy cream, divided
- 1/4 cup powdered sugar
- 1 teaspoon vanilla extract
- Fresh raspberries or strawberries for topping
- Mint leaves for garnish (optional)
Instructions
- Melt the Chocolate: In a microwave-safe bowl, melt the chopped chocolate in 30-second intervals, stirring until smooth. Let it cool slightly.
- Whip the Cream: In a large bowl, whip 1 cup of heavy cream with powdered sugar and vanilla until soft peaks form.
- Combine: Gently fold the melted chocolate into the whipped cream until fully combined. Be careful not to deflate the mixture.
- Chill: Spoon the mousse into serving glasses and refrigerate for at least 1 hour to set.
- Serve: Top with fresh berries and mint leaves before serving. Enjoy your delicious no-bake chocolate mousse!
Treat Yourself To A Quick Pineapple Upside-Down Cake
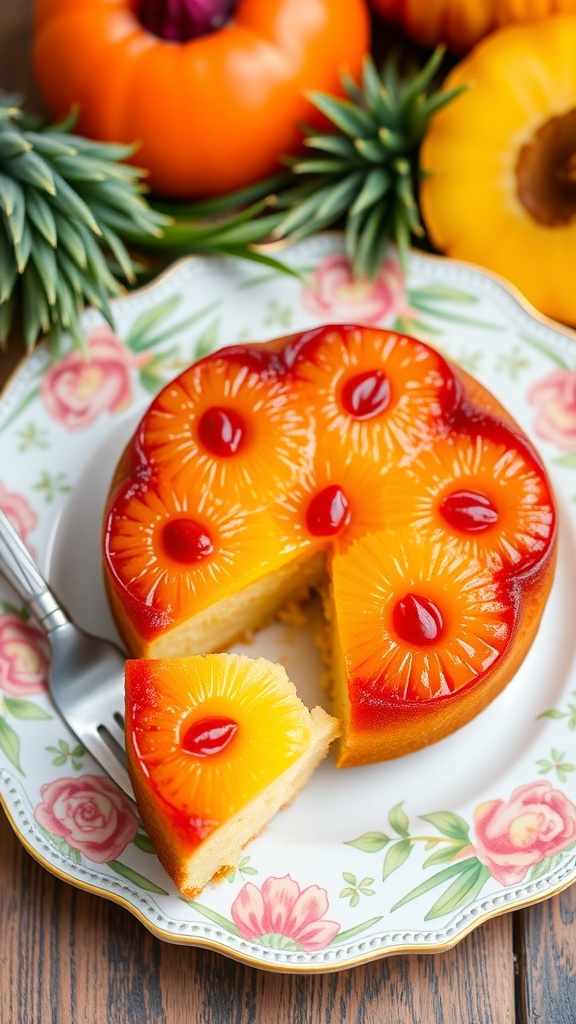
When you need a dessert that impresses without taking hours, a pineapple upside-down cake is a perfect choice. This classic treat features a sweet, caramelized topping of pineapple rings and cherries, sitting atop a moist cake. The vibrant colors and inviting aroma make it a delightful addition to any gathering.
In the image, you can see a beautifully presented pineapple upside-down cake, with its golden pineapple slices and bright red cherries. The cake is cut into slices, making it easy to serve. Fresh pineapples in the background hint at the delicious flavors waiting to be enjoyed.
This dessert is not only quick to make, but it also brings a touch of nostalgia. It’s a great way to use up any extra fruit you have on hand. Plus, it’s a fun project to do with kids or friends!
Ingredients
- 1/4 cup unsalted butter
- 1 cup brown sugar
- 1 can (20 oz) sliced pineapple, drained
- Maraschino cherries
- 1 1/2 cups all-purpose flour
- 2 tsp baking powder
- 1/2 tsp salt
- 1/2 cup granulated sugar
- 1/2 cup milk
- 1/4 cup vegetable oil
- 1 tsp vanilla extract
- 2 large eggs
Instructions
- Preheat your oven to 350°F (175°C). Melt the butter in a 9-inch round cake pan. Sprinkle the brown sugar evenly over the melted butter.
- Arrange the pineapple slices on top of the brown sugar mixture. Place a cherry in the center of each pineapple slice.
- In a bowl, mix the flour, baking powder, and salt. In another bowl, whisk together the granulated sugar, milk, oil, vanilla, and eggs until smooth.
- Combine the wet and dry ingredients, mixing until just combined. Pour the batter over the pineapples in the pan.
- Bake for 30-35 minutes, or until a toothpick inserted in the center comes out clean. Let it cool for a few minutes before inverting onto a serving plate.
- Serve warm and enjoy your delicious pineapple upside-down cake!
Delve Into A Rich Apple Crisp With Oat Topping
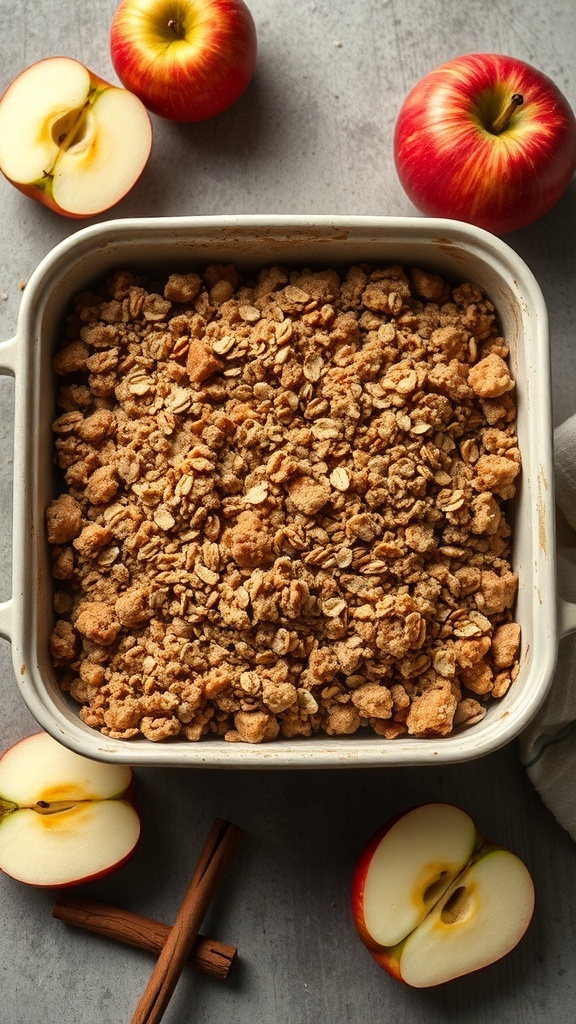
Apple crisp is a classic dessert that never fails to impress. It combines tender, sweet apples with a crunchy oat topping, creating a comforting dish perfect for any occasion. The image showcases a beautifully baked apple crisp, golden and inviting, surrounded by fresh apples and cinnamon sticks. This dessert is not only delicious but also easy to whip up at the last minute.
To make this scrumptious apple crisp, you’ll need a few simple ingredients. Start with fresh apples, preferably a mix of sweet and tart varieties for the best flavor. The oat topping adds a delightful crunch, making each bite satisfying.
Here’s how to make it:
Ingredients
- 6 cups of sliced apples (about 6 medium apples)
- 1/2 cup granulated sugar
- 1 teaspoon ground cinnamon
- 1 tablespoon lemon juice
- 1 cup rolled oats
- 1 cup all-purpose flour
- 1/2 cup brown sugar, packed
- 1/2 cup unsalted butter, softened
- 1/4 teaspoon salt
Instructions
- Preheat your oven to 350°F (175°C).
- In a large bowl, toss the sliced apples with granulated sugar, cinnamon, and lemon juice. Spread the mixture evenly in a greased baking dish.
- In another bowl, mix the oats, flour, brown sugar, and salt. Add the softened butter and mix until crumbly.
- Sprinkle the oat mixture over the apples, covering them completely.
- Bake for 30-35 minutes, or until the topping is golden brown and the apples are bubbly.
- Let it cool slightly before serving. Enjoy it warm, perhaps with a scoop of vanilla ice cream!
Make A Quick And Easy Lemon Meringue Pie
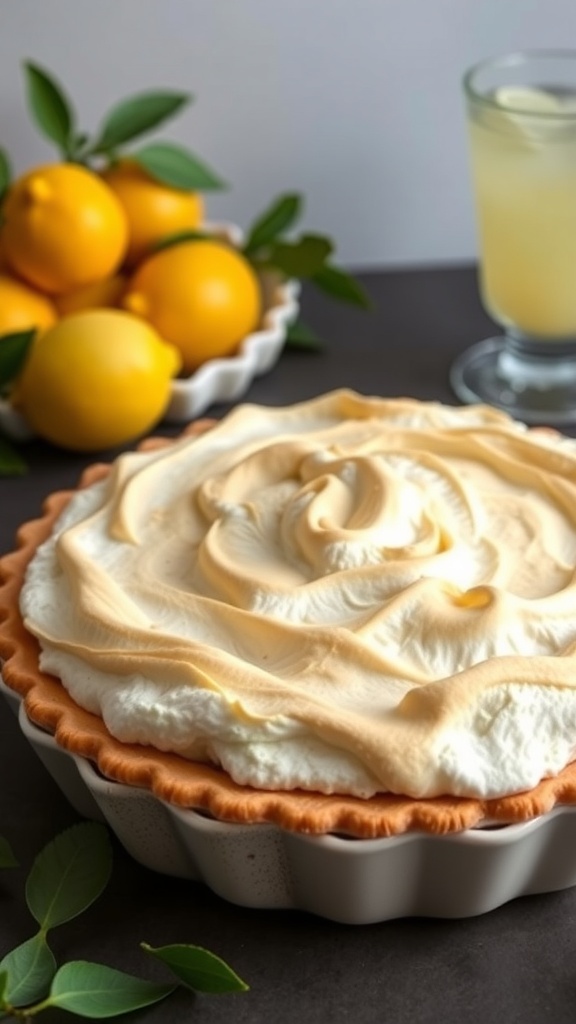
Lemon meringue pie is a classic dessert that brings a burst of sunshine to any table. The image shows a beautifully crafted pie topped with fluffy meringue, surrounded by fresh lemons. This dessert is not just a treat for the taste buds; it’s a feast for the eyes too!
Making this pie is easier than you might think. With a few simple ingredients, you can whip up a delightful dessert that impresses everyone. The tangy lemon filling pairs perfectly with the sweet meringue, creating a balance that’s hard to resist.
Let’s get to the fun part—here’s how you can make your own lemon meringue pie!
Ingredients
- 1 pre-made pie crust
- 1 cup granulated sugar
- 2 tablespoons cornstarch
- 1/4 teaspoon salt
- 1 1/2 cups water
- 3 large egg yolks, beaten
- 1/4 cup fresh lemon juice
- 2 tablespoons unsalted butter
- 1 teaspoon lemon zest
- 3 large egg whites
- 1/4 teaspoon cream of tartar
- 1/2 cup granulated sugar (for meringue)
Instructions
- Preheat your oven to 350°F (175°C). Place the pie crust in the oven and bake according to package instructions until golden brown. Set aside to cool.
- In a medium saucepan, mix 1 cup sugar, cornstarch, and salt. Gradually stir in water. Cook over medium heat, stirring constantly until the mixture thickens and bubbles.
- Stir a small amount of the hot mixture into the beaten egg yolks, then return it to the saucepan. Cook for an additional 2 minutes. Remove from heat and stir in lemon juice, butter, and lemon zest.
- Pour the lemon filling into the baked pie crust.
- In a clean bowl, beat egg whites and cream of tartar until soft peaks form. Gradually add 1/2 cup sugar, continuing to beat until stiff peaks form.
- Spread the meringue over the lemon filling, making sure to seal the edges. Use a spatula to create peaks and swirls.
- Bake in the preheated oven for about 10-12 minutes, or until the meringue is golden brown.
- Let the pie cool at room temperature before serving. Enjoy your homemade lemon meringue pie!
Indulge In A Chocolate Chip Cookie Skillet
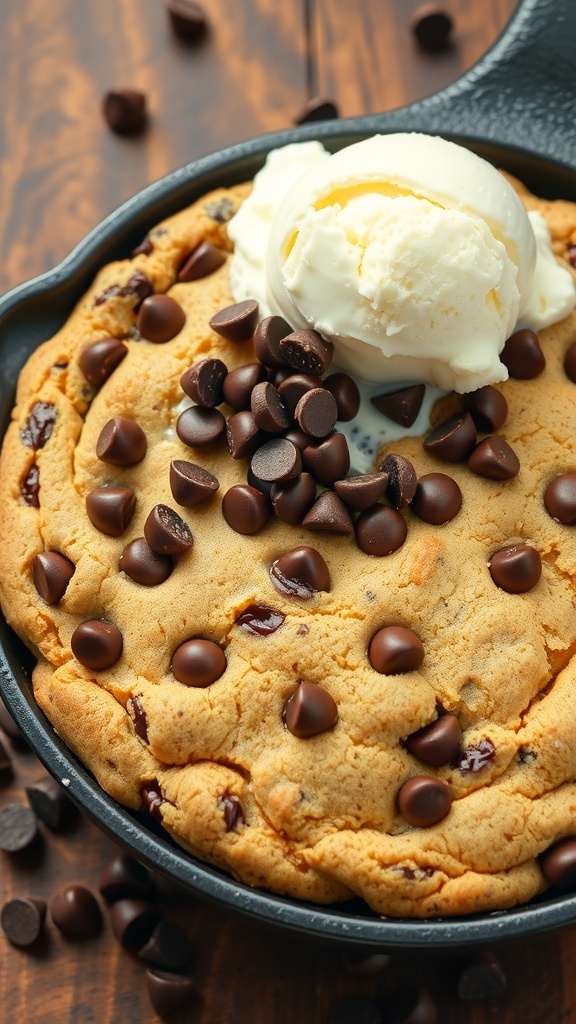
Picture this: a warm, gooey chocolate chip cookie baked right in a skillet. It’s the perfect last-minute dessert that’s sure to impress. The cookie is thick, chewy, and topped with melty chocolate chips. A scoop of vanilla ice cream melting on top adds a delightful creaminess that takes it to the next level.
This dessert is super easy to whip up. You can have it ready in no time, making it ideal for unexpected guests or a cozy night in. The best part? You can customize it with your favorite mix-ins, like nuts or dried fruit.
Let’s get to the recipe so you can enjoy this delicious treat!
Ingredients
- 1 cup unsalted butter, softened
- 3/4 cup granulated sugar
- 3/4 cup brown sugar, packed
- 1 teaspoon vanilla extract
- 2 large eggs
- 2 1/4 cups all-purpose flour
- 1 teaspoon baking soda
- 1/2 teaspoon salt
- 2 cups chocolate chips
Instructions
- Preheat your oven to 350°F (175°C).
- In a large bowl, cream together the softened butter, granulated sugar, and brown sugar until smooth. Mix in the vanilla extract and eggs until well combined.
- In another bowl, whisk together the flour, baking soda, and salt. Gradually add the dry ingredients to the wet mixture, stirring until just combined.
- Fold in the chocolate chips, reserving a few for topping.
- Spread the cookie dough evenly in a greased skillet. Sprinkle the reserved chocolate chips on top.
- Bake for 25-30 minutes, or until the edges are golden brown and the center is set.
- Let it cool slightly before serving. Top with a scoop of vanilla ice cream if desired.
Bite Into A Sweet And Tangy Key Lime Pie

Key lime pie is a classic dessert that brings a burst of flavor with every bite. The smooth, creamy filling is perfectly balanced with the tartness of fresh key limes. This dessert is not just delicious; it's also visually appealing, especially when garnished with lime slices. The golden crust adds a delightful crunch, making it a favorite for many.
Making key lime pie is simple and quick, perfect for those last-minute dessert needs. You can whip it up in no time and impress your guests with its vibrant flavor. Whether it's a casual gathering or a special occasion, this pie is sure to be a hit.
Ingredients
- 1 ½ cups graham cracker crumbs
- ½ cup granulated sugar
- ½ cup unsalted butter, melted
- 4 large egg yolks
- 1 can (14 ounces) sweetened condensed milk
- ½ cup fresh key lime juice
- 1 tablespoon lime zest
- Whipped cream, for serving
Instructions
- Preheat the oven to 350°F (175°C).
- In a bowl, mix graham cracker crumbs, sugar, and melted butter until combined. Press this mixture into the bottom and up the sides of a pie dish.
- Bake the crust for 8-10 minutes until golden. Remove and let it cool.
- In another bowl, whisk together egg yolks, sweetened condensed milk, lime juice, and lime zest until smooth.
- Pour the filling into the cooled crust and bake for an additional 15 minutes.
- Let the pie cool at room temperature, then refrigerate for at least 3 hours before serving.
- Top with whipped cream and lime slices before serving.
Treat Yourself To A Classic Chocolate Pudding
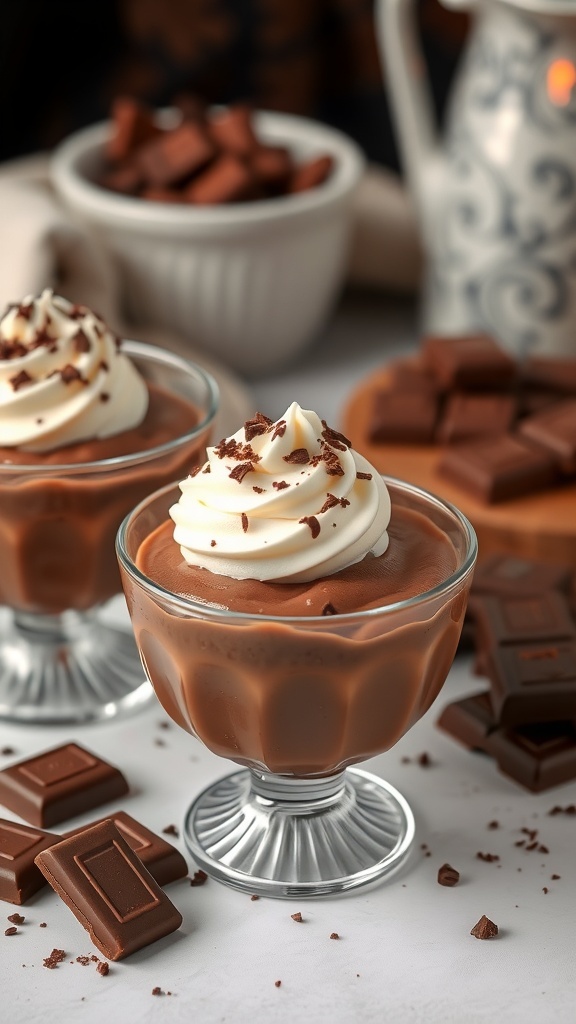
Chocolate pudding is a timeless dessert that never fails to please. Its rich, creamy texture and deep chocolate flavor make it a favorite for many. Whether you're celebrating a special occasion or just treating yourself, this dessert is sure to hit the spot.
The image shows two elegant bowls filled with smooth chocolate pudding, topped with fluffy whipped cream and chocolate shavings. Surrounding the bowls are pieces of chocolate, hinting at the deliciousness within. This classic dessert is not only simple to make but also a delightful way to satisfy your sweet tooth.
Making chocolate pudding from scratch is easier than you might think. With just a few ingredients, you can whip up a batch that rivals any store-bought version. Let’s get started!
Ingredients
- 2 cups whole milk
- 1/2 cup granulated sugar
- 1/3 cup unsweetened cocoa powder
- 1/4 cup cornstarch
- 1/4 teaspoon salt
- 1 teaspoon vanilla extract
- 2 tablespoons unsalted butter
Instructions
- Combine Ingredients: In a medium saucepan, whisk together the sugar, cocoa powder, cornstarch, and salt. Gradually add the milk, stirring until smooth.
- Cook the Mixture: Place the saucepan over medium heat. Stir constantly until the mixture thickens and starts to bubble, about 5-7 minutes.
- Add Vanilla and Butter: Remove the saucepan from heat. Stir in the vanilla extract and butter until fully melted and combined.
- Chill: Pour the pudding into serving bowls or a large dish. Cover with plastic wrap, pressing it directly onto the surface to prevent a skin from forming. Refrigerate for at least 2 hours.
- Serve: Once chilled, top with whipped cream and chocolate shavings before serving.
Satisfy Your Cravings With Easy Blackberry Fool

Blackberry fool is a delightful dessert that’s as easy to make as it is delicious. The image shows a beautiful glass filled with layers of creamy goodness and vibrant blackberry compote. Topped with fresh blackberries and a sprig of mint, it’s a feast for the eyes and the taste buds.
This dessert is perfect for last-minute gatherings or a sweet treat after dinner. The combination of whipped cream and blackberries creates a light, airy texture that melts in your mouth. Plus, it’s a great way to use up any blackberries you might have on hand.
Making blackberry fool is simple. Start by preparing a quick blackberry sauce. Then, fold it into whipped cream for that signature swirled look. Layer it in a glass, and you have a stunning dessert ready to impress.
Ingredients
- 2 cups fresh blackberries
- 1/4 cup granulated sugar
- 1 cup heavy cream
- 1 teaspoon vanilla extract
- Mint leaves for garnish
Instructions
- Make the Blackberry Sauce: In a saucepan, combine blackberries and sugar. Cook over medium heat until the blackberries break down and the mixture thickens, about 10 minutes. Let it cool.
- Whip the Cream: In a mixing bowl, beat the heavy cream and vanilla extract until soft peaks form.
- Combine: Gently fold the cooled blackberry sauce into the whipped cream until you get a marbled effect.
- Layer: Spoon the mixture into serving glasses, alternating with layers of the blackberry sauce.
- Serve: Top with fresh blackberries and mint leaves. Enjoy your easy blackberry fool!
Craft A Delicious Almond And Cherry Clafoutis
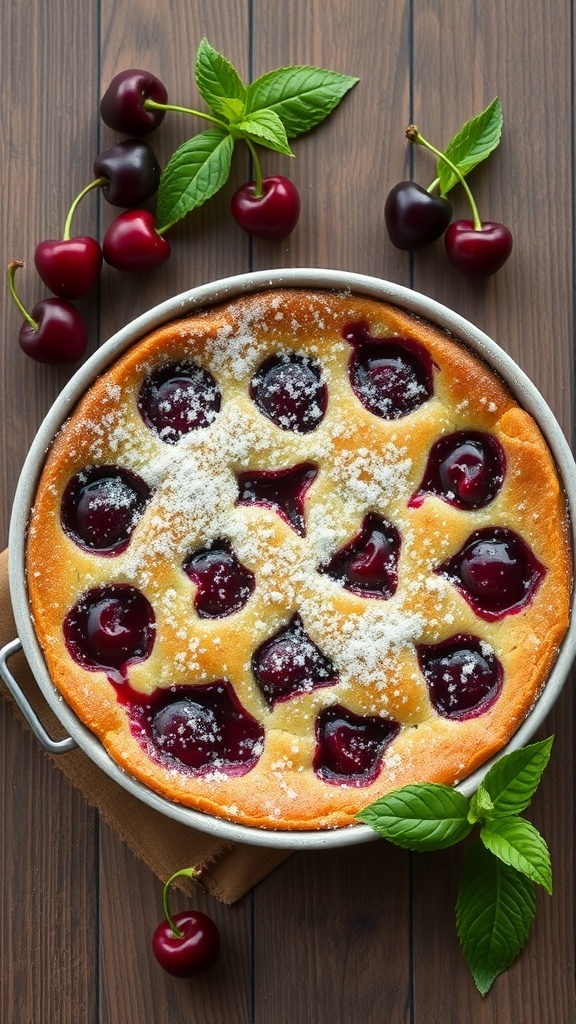
Clafoutis is a delightful French dessert that combines the rich flavors of almonds and cherries. This dish is perfect for those last-minute gatherings or when you want to impress without spending hours in the kitchen. The image showcases a beautifully baked clafoutis, with juicy cherries nestled in a golden, custardy base. The dusting of powdered sugar adds a touch of sweetness and elegance.
To make this dessert, you’ll need fresh cherries, almond extract, and a few simple pantry staples. The beauty of clafoutis lies in its simplicity. You mix the ingredients, pour them over the cherries, and let the oven do the magic. It’s a great way to enjoy seasonal fruits while keeping things easy and delicious.
Ingredients
- 2 cups fresh cherries, pitted
- 3 large eggs
- 1 cup milk
- 1/2 cup granulated sugar
- 1 teaspoon almond extract
- 1/2 cup all-purpose flour
- 1/4 teaspoon salt
- 2 tablespoons unsalted butter, melted
- Powdered sugar for dusting
Instructions
- Preheat your oven to 350°F (175°C). Grease a 9-inch round baking dish.
- Spread the pitted cherries evenly in the bottom of the dish.
- In a mixing bowl, whisk together the eggs, milk, sugar, almond extract, flour, salt, and melted butter until smooth.
- Pour the batter over the cherries, ensuring they are well covered.
- Bake for 35-40 minutes, or until the clafoutis is puffed and golden brown.
- Allow it to cool slightly before dusting with powdered sugar and serving.


Comments
Post a Comment